The Gallery
09 Jan 2019We’ll use the Gallery to post and share project documentation for the course. Every student should create an account on the project gallery and fill out profile information. The system allows for either private or public postings, where ‘semi-private’ projects are viewable only by other logged-in members and ‘public’ is viewable to the world.
What is the Gallery
The Gallery is an online tool to document, present and share projects created in your courses. It’s designed as a place to showcase your work and connect around outcomes. It supports your coursework by providing a place to document your projects as they develop and get feedback from your colleagues and instructors.
Visit: http://integratedinnovation.xsead.cmu.edu
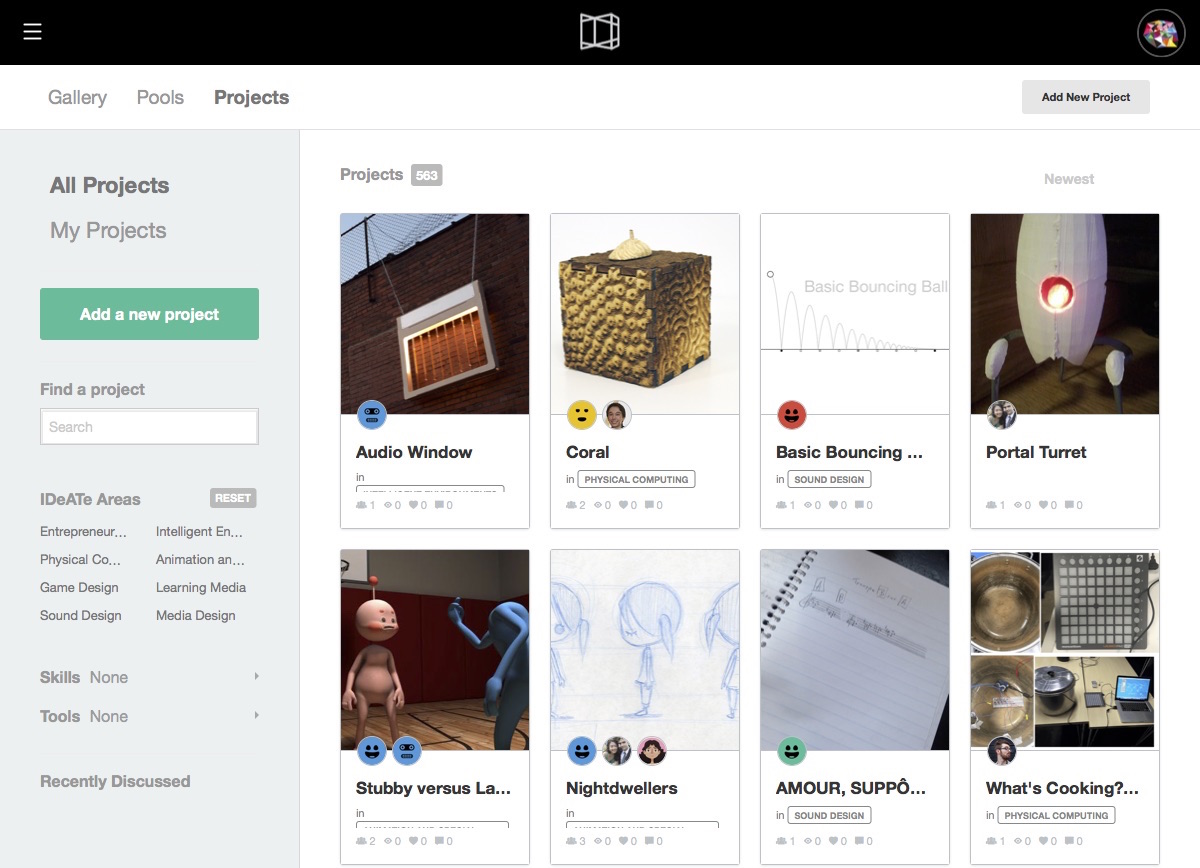
How it’s organized:
Projects are organized in pools that can be sorted by concentration area, course, or user. Each project has a team, and anyone of these people can manage the project. A project also has rich ‘documentation’ which lets you describe how and why the outcome was created.
How it works:
-
Your instructor will create a Pool for your creative assignment and share the link to it
-
Once you join the pool, you can create your project; and it will appear in the pool along with others from your class.
-
You can review these projects as they evolve and give feedback and advice to others working on the same problem and get advice on your work too
Why use it:
-
It’s a central place to manage all your coursework and projects
-
Document your projects from the start, in the middle, and not just at the end!
-
Collaborative prepare your documentation
-
Use all sorts of multimedia to describe your work (supports online videos, code, audio, documents, and uploads inline)
-
Get feedback and critique of your work when you need it
-
See the projects and interests of your collaborators, classmates and peers
-
Quickly discover projects across all a range of areas and topics
-
Projects on the Gallery can become highlighted projects on the main website.
Creating a new Project:
Setting up a new project is a straightforward process which will only take a couple of minutes. A project will almost always map directly to a single creative assignment give to you as part of a course. Every user with a valid Andrew ID will be able to create a project. This check might take a day or two after you setup your account; when you are you’ll see a ‘Add New Project’ button in the top right corner.
Here is the minimum amount of information you’ll need to start your project:
-
A title (keep it short!)
-
A primary category (area) that it should be listed under
-
Description of goals (500 characters or less)
-
A cover image (JPEG, PNG, GIF or JPG, 5MB file limit, 1024x768 pixels recommended)
-
A list of team members/collaborators (add them with their username,so they must be signed up!)
You also get to decide who can see your project by changing its visibility settings. These settings allow you to make it viewable by anyone (public), viewable by signed in users only (semi-public), viewable only by the project team (private). The private mode is perfect for preparing your documentation before it’s ready!
Creating a profile:
We recommend every student take a few minutes to set up a profile on the Gallery. Every registered student will have a profile and it’s a great way for you to discover what other students are working on, to find potential collaborators for your work, and to help us get to know you better as a student. You can find other students, and their work, on the Profile page. You can also contact them through the built in messaging system if you’d like their advice, input or expertise!
You don’t have to add any information you don’t want to or you can use a pseudonym for your account if you’d prefer not to use your real name. You also get to decide what work is associated with this profile by changing the visibility settings of your projects.
Here is the information you can complete when you set up your profile:
-
username (real or pseudonymous)
-
real name (first and last name)
-
profile image (square is best, and bigger than 256px recommended)
-
biography (200 chars max)
-
focus areas (program area interests; choose from a fixed list)
-
skills with which you identify (choose from a list or add your own)